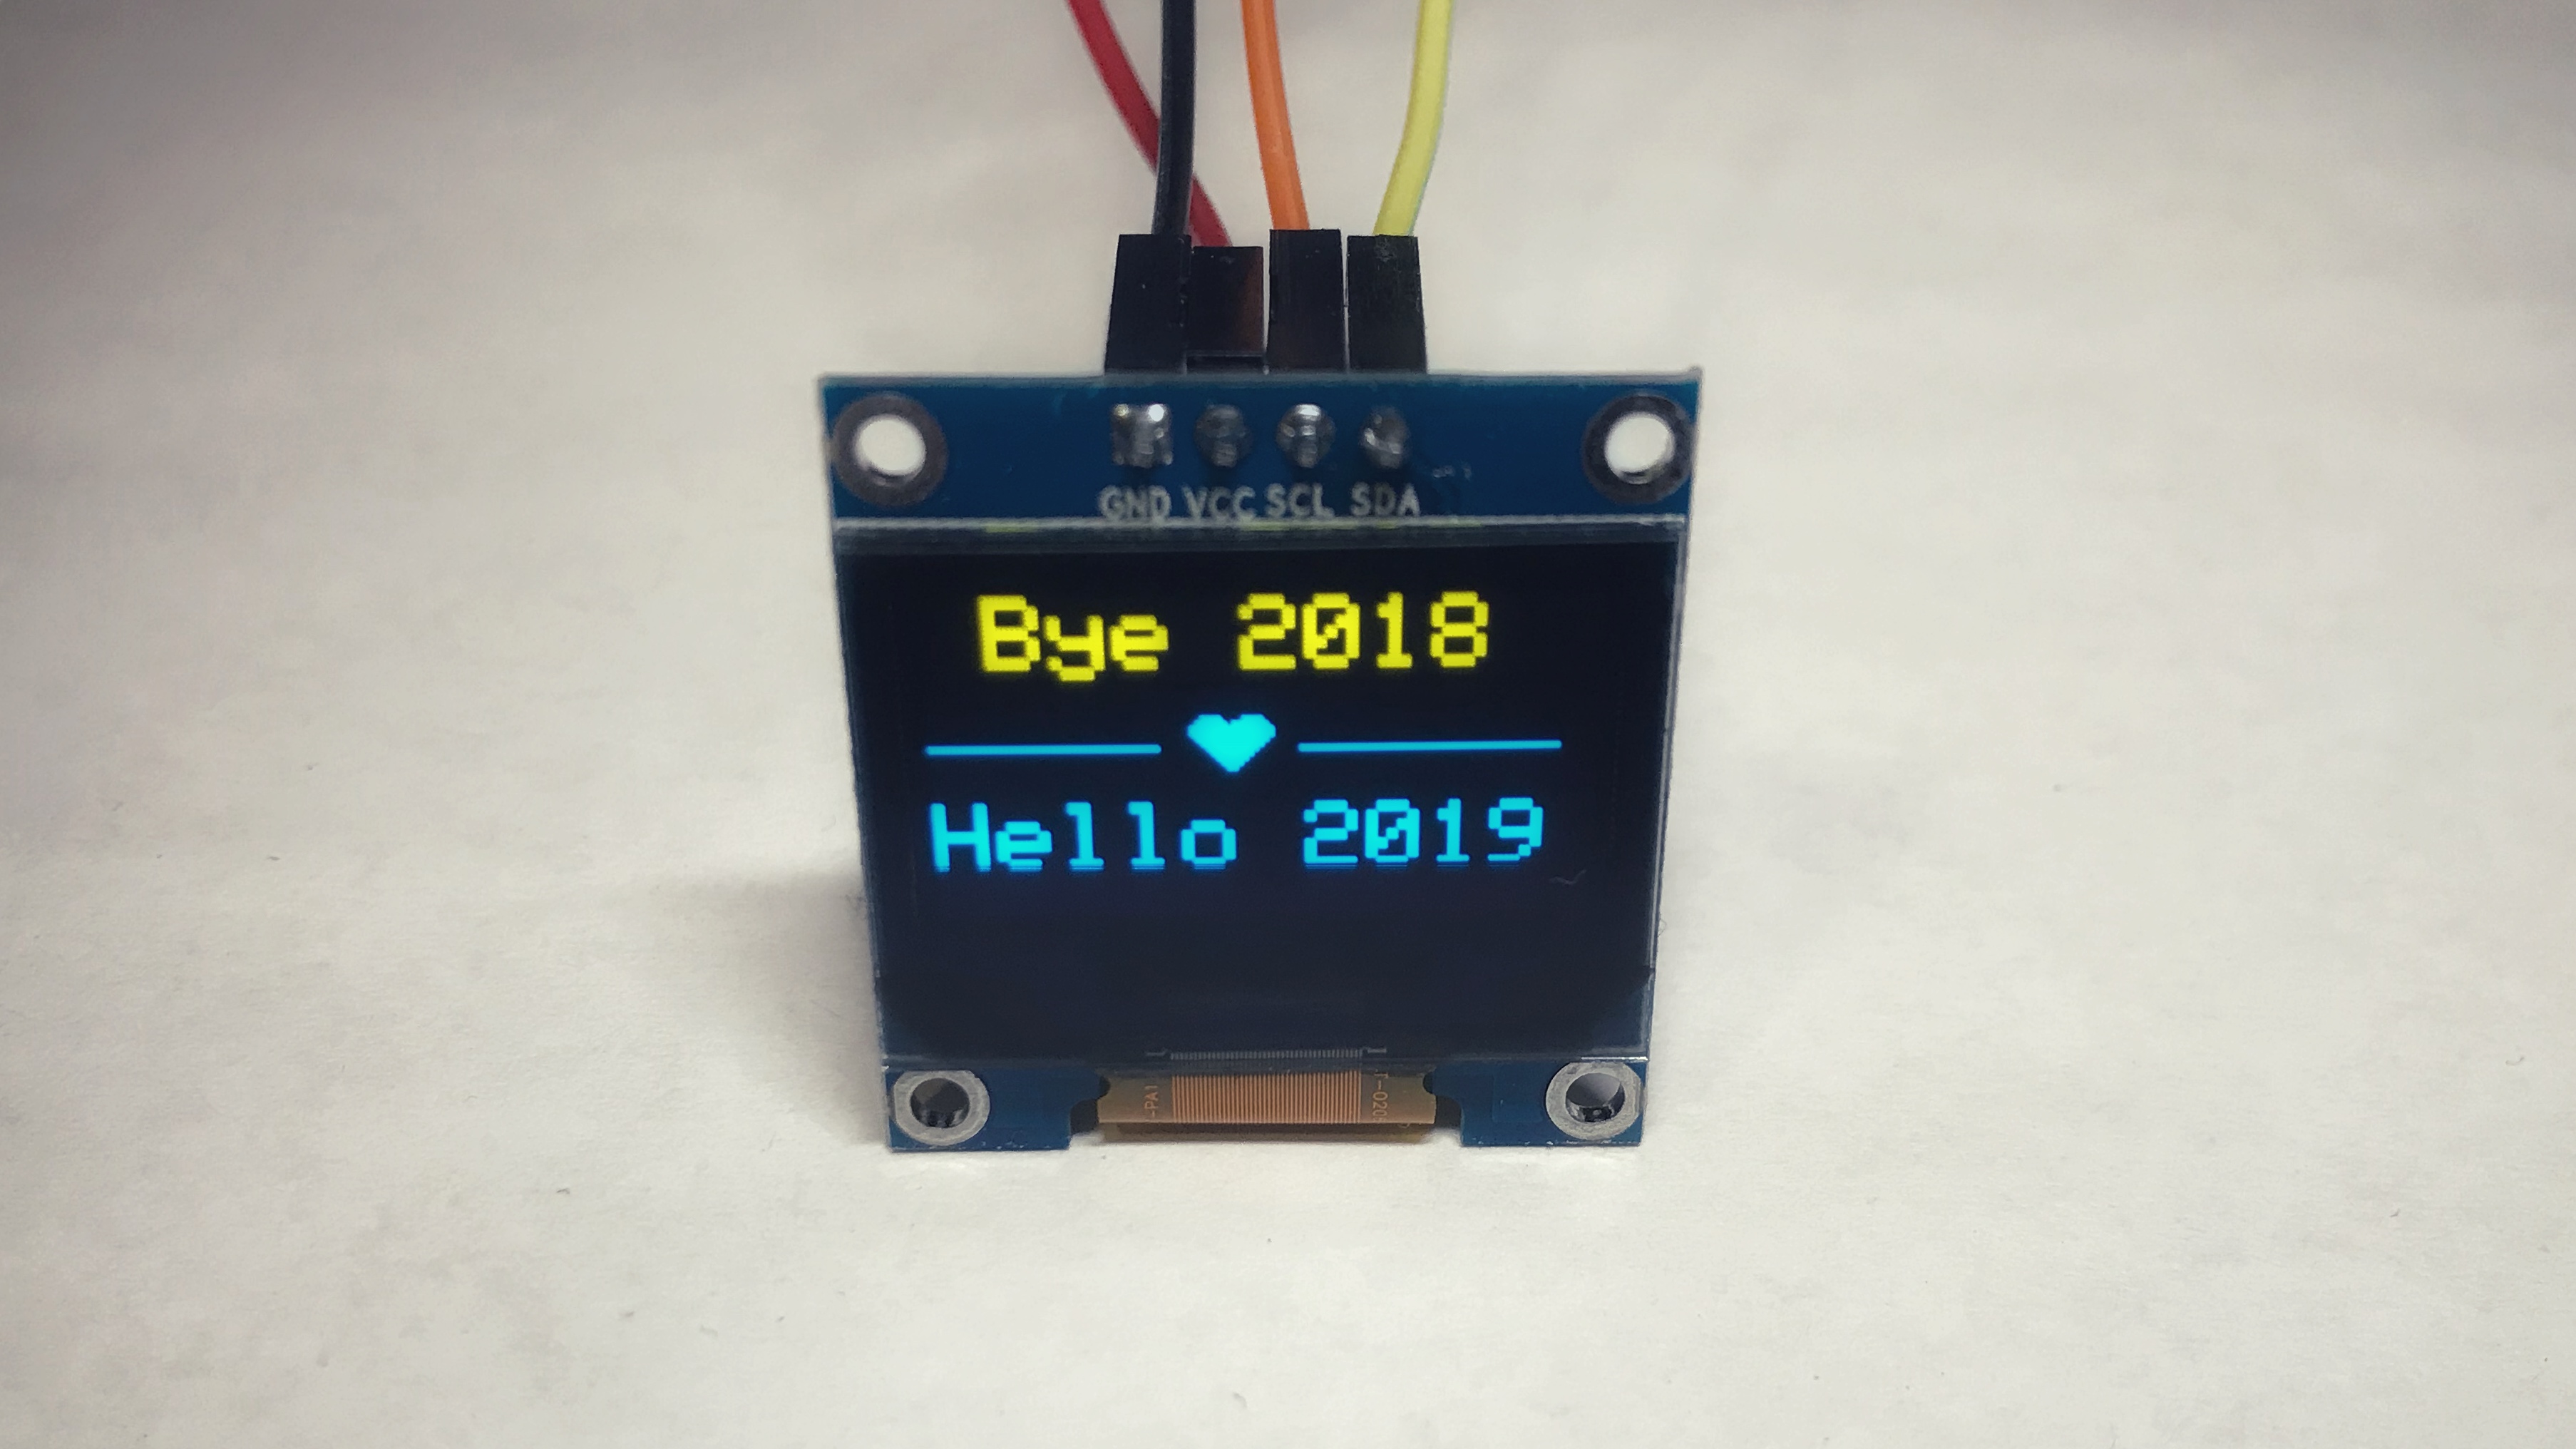
Hello 2019 (OLED)
2019, Jan 01
Goal: Learn how to use 128x64 I2C OLED Amazon.
Learning:
There’re mainly two components to know: OLED Library and Wiring.
Adafruit_SSD1306 Library
Adafruit has the library Adafruit_SSD1306 Github for the OLED.
It provides examples to run the demo for SPI/I2C OLED.
Wiring
Arduino has the <wire.h> for the I2C communication link.
| Board | I2C / TWI pins |
|---|---|
| Uno, Ethernet | A4 (SDA), A5 (SCL) |
| Mega2560 | 20 (SDA), 21 (SCL) |
| Leonardo | 2 (SDA), 3 (SCL) |
| Due | 20 (SDA), 21 (SCL), SDA1, SCL1 |
For the Arduino Uno, we need A4 for SDA(data line), and A5 for SCL(clock line).
And here is an example of I2C communication between 2 Arduino Uno board.
Test
Install library
Arduino -> Sketch -> Include Library -> Manage libraries:
Search for Adafruit GFX (Graphics library) and Adafruit SSD1306 (OLED library).
Run the demo
Demo Code for 128x64 I2C OLED.
The default I2C address is 0x3D, but my OLED is 0x3C. So change the following line to this:
if(!display.begin(SSD1306_SWITCHCAPVCC, 0x3C)) { // Address 0x3C for 128x64
Hello 2019
static const unsigned char PROGMEM heart[] =
{ B00000000, B00000000,
  B00000000, B00000000,
  B00111100, B00111100,
  B01111110, B11111110,
  B11111111, B11111111,
  B11111111, B11111111,
  B01111111, B11111110,
  B00111111, B11111100,
  B00011111, B11111000,
  B00001111, B11110000,
  B00000111, B11100000,
  B00000011, B11000000,
  B00000001, B10000000,
  B00000000, B00000000,
  B00000000, B00000000,
  B00000000, B00000000};

void hello2019(void) {
  display.clearDisplay();
  display.setTextSize(2);      // Normal 1:1 pixel scale
  display.setTextColor(WHITE); // Draw white text
  display.setCursor(0, 0);     // Start at top-left corner
  display.cp437(true);         // Use full 256 char 'Code Page 437' font

  display.println(F(" Bye 2018"));

  display.drawLine(0, 28, 43, 28, WHITE);
  display.drawLine(71, 28, 120, 28, WHITE);

  display.drawBitmap(
    50,
    20,
    heart, LOGO_WIDTH, LOGO_HEIGHT, 1);

  display.setCursor(0, 40);     // Start at top-left corner
  display.println(F("Hello 2019"));


  display.display();
}
